How to install Mac OS X Leopard on your PowerPC (PPC) Mac with a USB flash drive
|
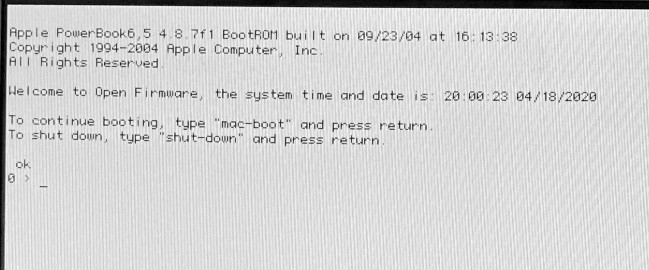
If you need instructions on how to make a USB flash drive for this tutorial, one for creating it on Windows can be found here. Creating the USB drive on a Mac running OS X is as simple as restoring an image with Disk Utility. The Leopard disc image used in this tutorial can be found here. Note: This tutorial assumes you have already created a bootable USB drive containing Leopard. 1. Shut down your PowerPC Mac. 2. Plug in your Leopard USB drive into your Mac. 3. Turn on the Mac. Just as you hear the boot chime, hold down Cmd/Command/Apple key, Option/Alt, O, and F simultaneously. Continue holding them until you see the Open Firmware screen. It should look like this:
4. In this window, type
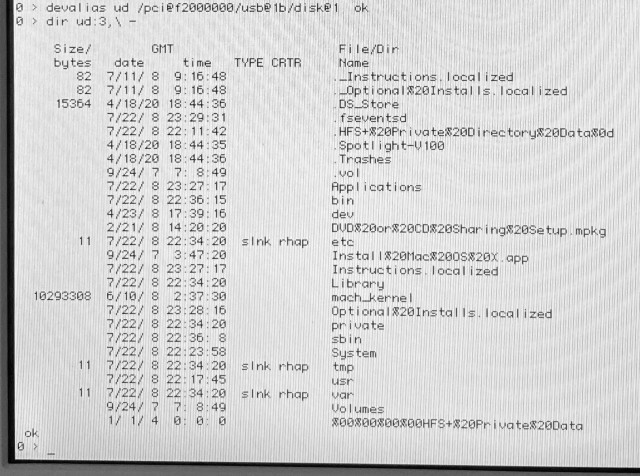
5. Now, let's organize these elements so that we can form the command we need to boot your USB drive. In my example, my drive is located at 6. We'll need to create an alias to boot from, so your Mac knows where the USB files are in language it understands. Depending on your Mac, your command will be different. The command is: 7. To verify you have done everything correctly so far, type
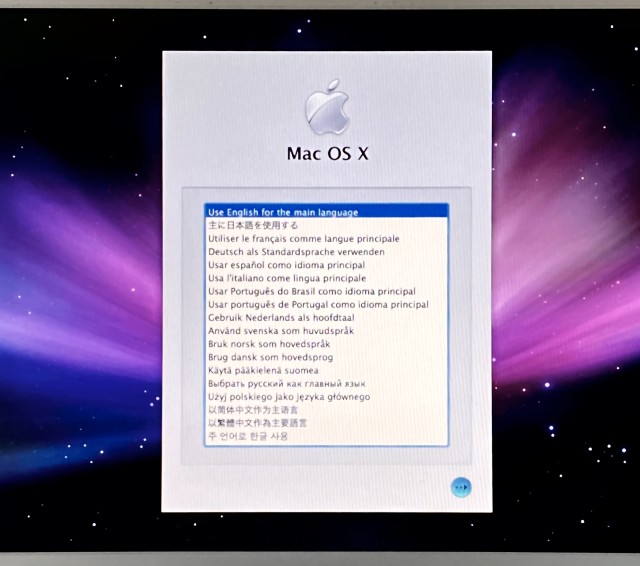
8. Now, we are ready to boot into the Leopard installer. Type 9. With any luck, the next thing you will see is the Apple logo. It may take a while for the installer to load, as most PowerPC Macs did not have very fast USB ports.
10. Eventually, the Leopard installer should load. You can then proceed with installation as needed!
This tutorial is derived from this page on MacWorld. |
|